The Big 3 Upgrade
April 1, 2019 by Coleman Thedinger
It’s time to talk about the famous Big 3Upgrade for your car’s electrical system, which can improve the performance of your audio gear and solve some common issues.
Right out of the gates, it’s important to understand what this upgrade can and cannot do. If you’ve been presented with this upgrade like it’s a magic pill that fixes everything, don’t get your hopes too high. Having said that, sometimes it will make the difference that you need.
It’s a good idea to move forward with a Big 3Upgrade regardless of whether you’re currently experiencing issues or not. Upgrading your stock audio equipment puts extra strain on your car’s wiring and electrical systems.
Your car’s wiring was designed to carry the power needed by the head unit and other stock electronics in your vehicle, so adding a power-hungry amplifier can cause problems.
What Does the Big 3 Upgrade Consist of?
The Big 3 Upgrade involves taking 3 of the main wires from your vehicle’s electrical system and replacing them with lower gauge(thicker) wires, which gives a cleaner path for current to travel, resulting in a more consistent flow of power to your electronic devices.
Here are the 3 wires involved in the big 3 upgrade:
Battery Ground to Frame: This wire goes from the ground on your car’s battery to the vehicle’s frame.
Frame to Engine Block: This wire goes in-between your engine block and the frame of your vehicle.
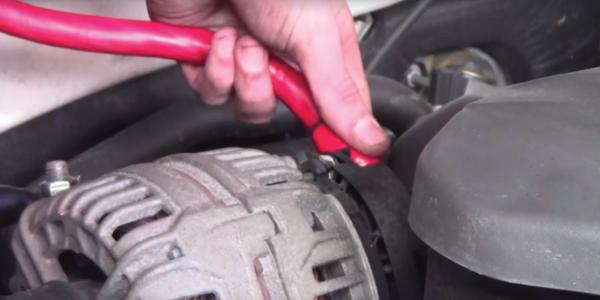
Alternator to Battery Positive: The wire that connects the positive post on your battery to the alternator is the final piece of the Big 3.
You’re replacing thinner wires with thicker ones, it’s that simple. 0/1 or 4 gauge wires are recommended. There’s no downside to going with the lower gauge except that it will cost a bit more, and may be harder to maneuver, depending on your installation.
What Issues can the Big 3 Upgrade Fix?
The Big 3 upgrade allows you to compensate for the factory wiring being subpar once you start adding aftermarket equipment. This upgrade also gives you a necessary upgrade path towards a high-performance alternator.
While it’s often discussed in the context of aftermarket stereo equipment, the Big 3 Upgrade benefits the rest of your vehicle’s electrical components as well, and not just your stereo.
This upgrade is all about making the most out of the power that you have available to you. It’s a commonly-recommended upgrade for anyone adding aftermarket equipment, especially if you’re having issues like dimming headlights during a massive bass drop.
What Doesn’t the Big 3 Upgrade Fix?
If your power source (your alternator) isn’t generating enough energy to power your audio equipment properly in the first place, then creating a better path for that energy to travel isn’t going to fix things.
While the BIG 3 can give you a better path for the electricity to travel, if you’re short on voltage, it’ll take more than just upgrading some wires to get the juice you need.
If your alternator can’t send enough power down the line, it doesn’t matter how thick the wires are, you aren’t going to get great performance from your audio system. In those cases, it’s time to upgrade your alternator. The good news is that an aftermarket alternator will take full advantage of your BIG 3 upgrade.
How To Perform the Big 3 Upgrade
This is a very simple upgrade that you can perform yourself in under an hour.
Figure out where all the connections for the 3 wires that you’re going to upgrade are located in your vehicle. Doing this before you get started allows you to plan ahead and to do a nicer job.
Plan the paths you’re going to take with your new wires. It’s usually a good idea to follow the same paths as the old wires.
You can leave the factory wires in place and zip tie the upgraded wires directly to them. You don’t need to remove the factory wires unless there’s no room on the posts for both sets.
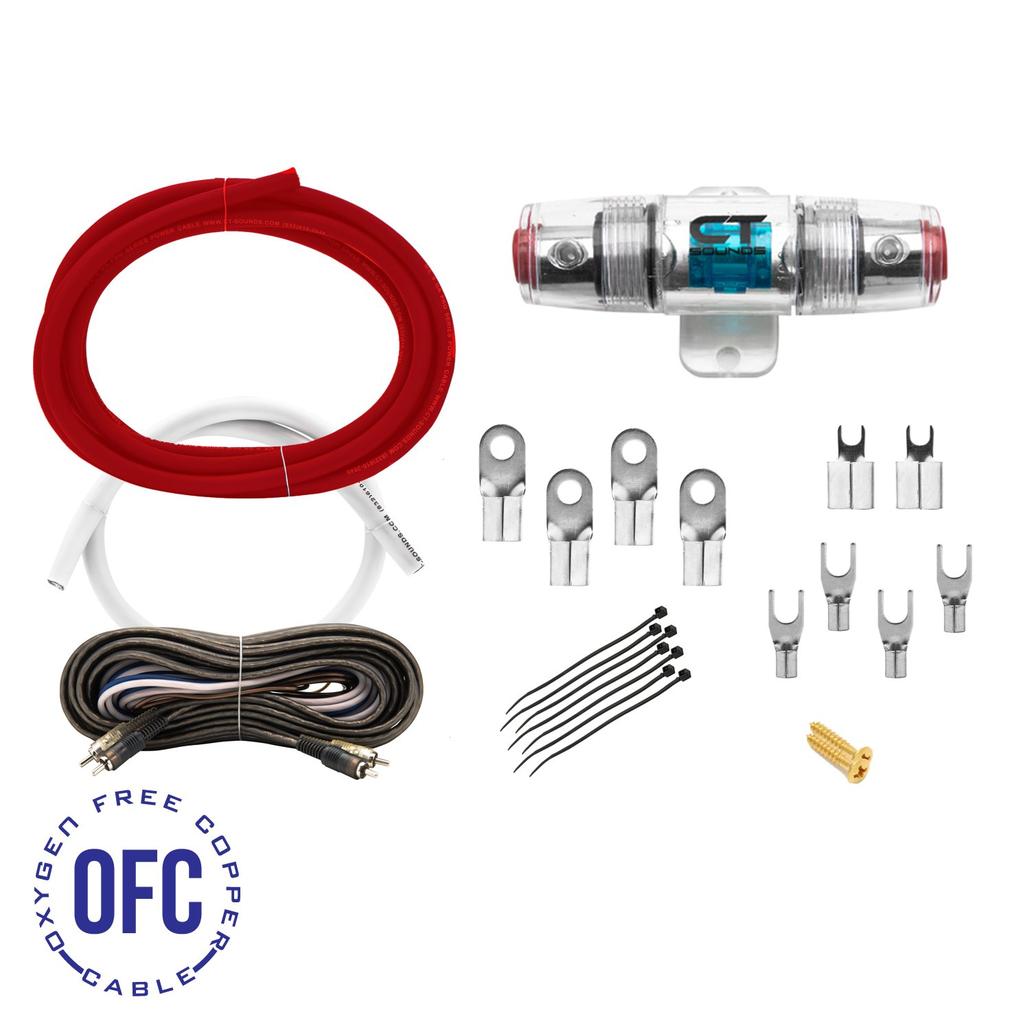
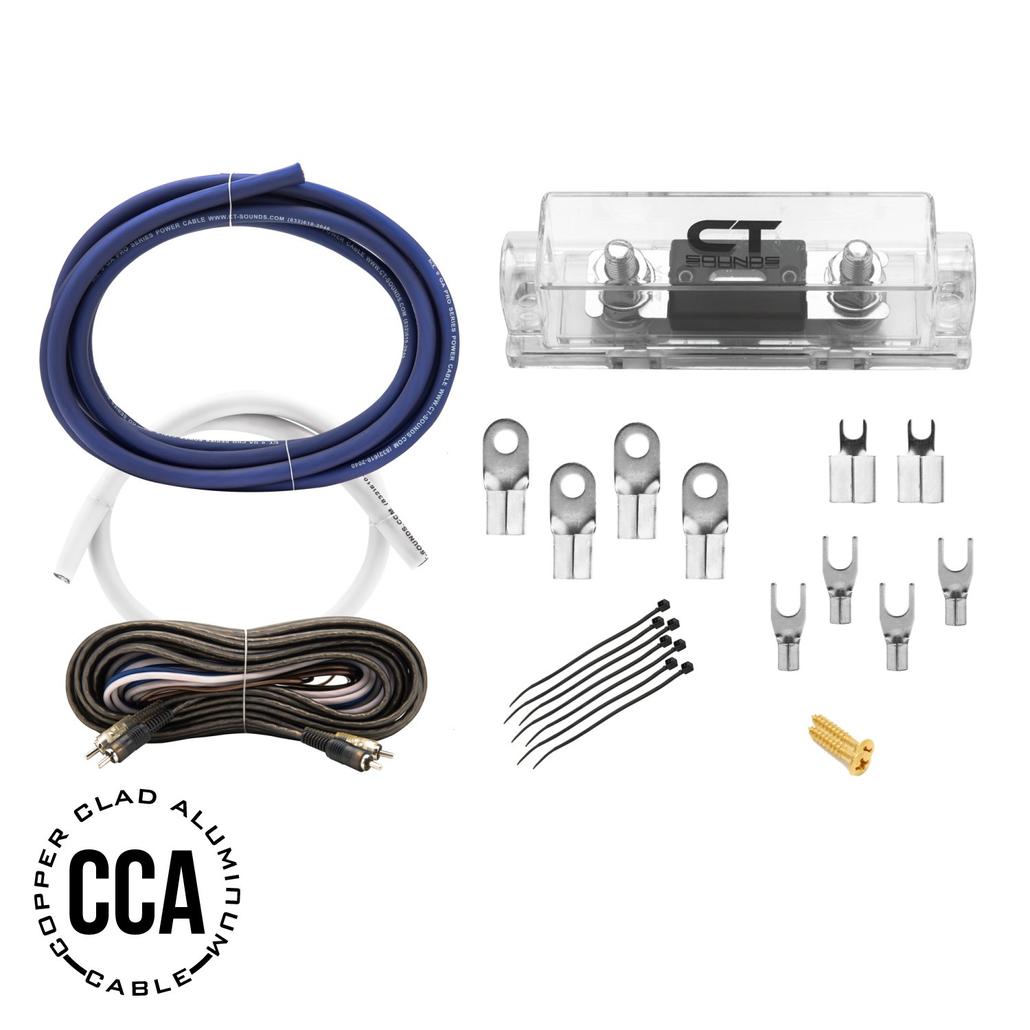
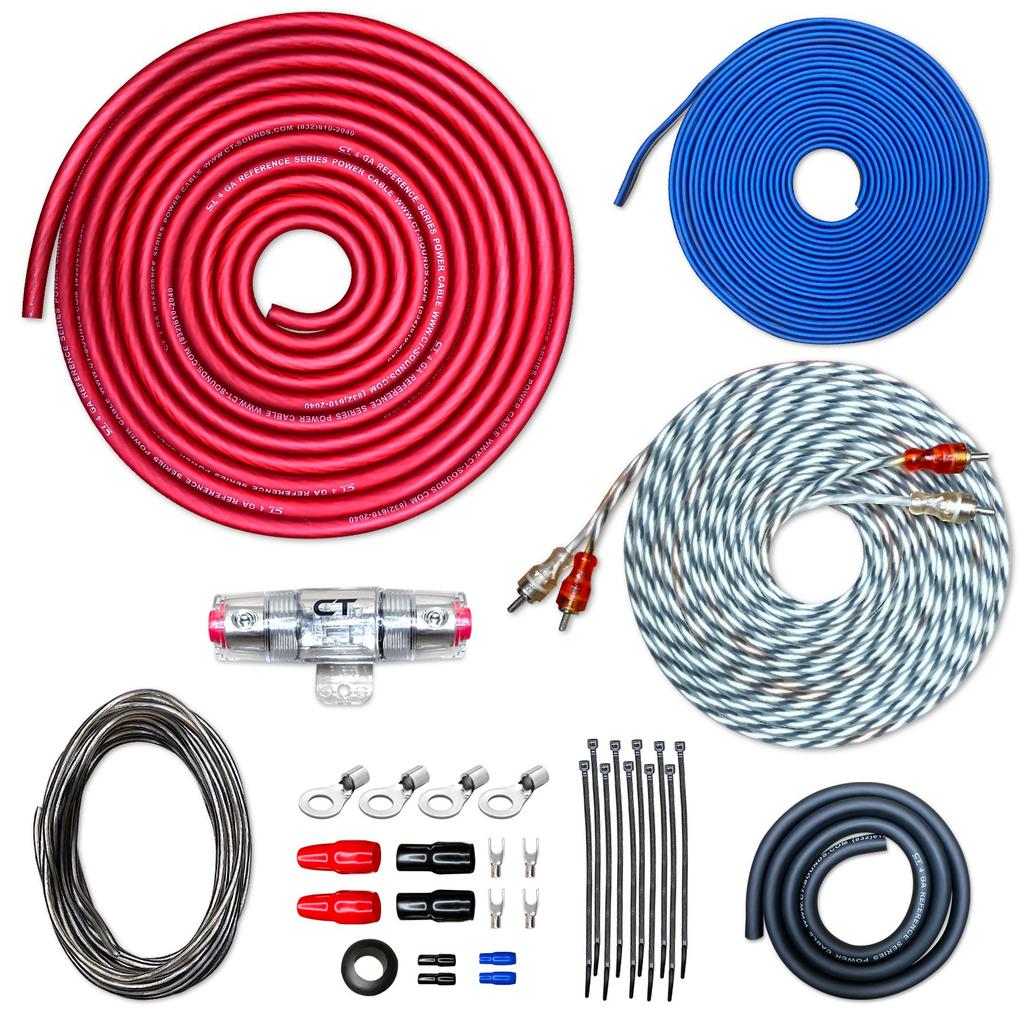
You’ll need a few tools such as wrenches, sockets, ratchets, zip ties, crimpers, and your new wires. You can buy a wire upgrade kit that comes with the wires, connectors, and other accessories. The specific tools you need will vary depending on your vehicle, which is why it’s a good idea to check things out ahead of time.
You’ll likely need to crimp or screw the ring terminals to at least one end of the new wires, and it doesn’t hurt to add some solder in there for good measure. This connection needs to be rock solid.
Disconnect the negative terminal on your car’s battery to avoid causing a short or damage to any of your equipment.
Now, it’s just a matter of adding your new upgraded wires in each of the 3 locations. That’s the wire that connects the ground from the car battery to the frame of the car, the wire that connects the frame to the engine block, and the wire that connects the alternator to the battery.
It’s important to remove any paint from the frame and clean it up very well to ensure that you’ve got a perfect metal-on-metal connection. Also, don’t connect this to some flimsy little piece of metal that’s sticking out somewhere, make sure you’re connecting this wire to a major section of the chassis.
As with anything that involves electronics and high output power sources, you need to make sure you have a fundamental understanding of how electricity works and how to keep yourself safe. Even seasoned professionals can slip up and make a costly error if they aren’t being careful, so if this is new to you, take your time and double check everything.


