How to Strap 2 Amplifiers
April 3, 2019 by Coleman Thedinger
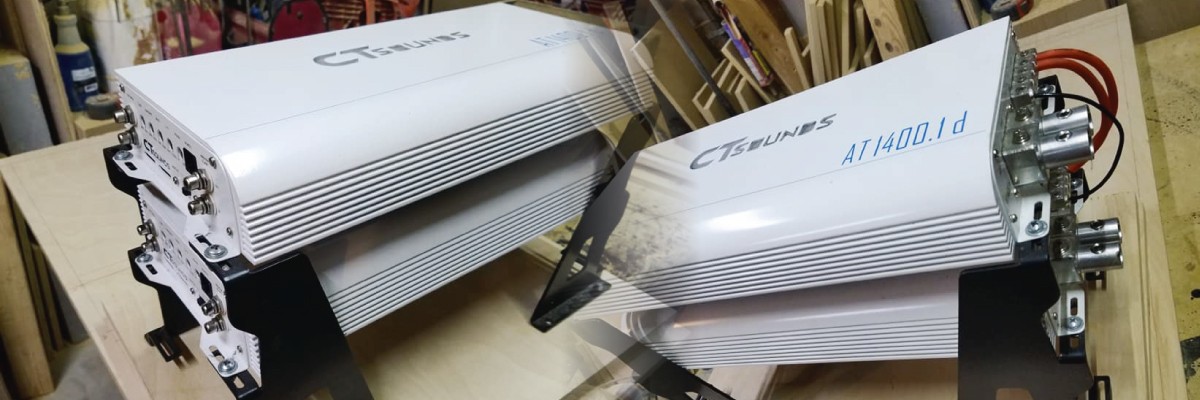
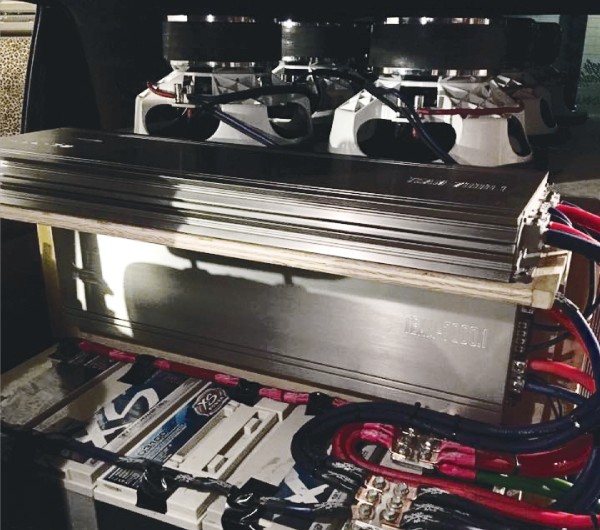
As you get deeper and deeper into the rabbit hole of car audio, it’s only a matter of time until you hear about strapping amplifiers. There are many misconceptions about what this does, how it works, and what it’s for. We’re going to go over the benefits of strapping your amps instead of just having one big amp, why people do it, and finally how to strap 2 amplifiers.
What You’ll Need
You need two identical amplifiers. They must be the exact same models, not just amps with similar specs. The amp you choose needs to be strappable as a feature.
You’ll need some RCA cables, speaker wire, and everything else you would normally require for installing an amplifier in your car such as tools, a compatible head unit, and so on.
Benefits of Strapping Two Amplifiers
Let’s talk about some of the benefits of strapping amps, and why people bother with this in the first place.
The main reason to strap (also known as bridging) is to power one single voice coil with multiple amplifiers. An additional benefit to this setup is that you only need to tune the primary amp(the master), because the secondary amp (the slave) will be using the settings from the master. This is easier than trying to dial in the exact settings on two separate amps.
By having two smaller amps instead of one larger amp, you give yourself the ability to replace one of them if something goes wrong. If you had one larger and more expensive amplifier, you would have to replace the whole thing.
Strapping can also be helpful if you start off with one smaller amp and decide later that you want more power. Strapping allows you to double up the power of your amplifiers, while still getting use out of your initial amp.
This offers you a more practical upgrade path, as opposed to replacing your first amp with a new one and having the original one not being used anymore. Having an upgrade path is something that can be overlooked by people who are putting together their very first aftermarket car audio systems, but it’s worth keeping in mind.
If you have one of our AT Series amps that feature an advanced gain knob (or one of our other amplifiers with a standard knob), you can adjust the gain on both amps at the same time since the master controls the slave’s settings.
Strapping will give you twice the power and double the impedance load compared to having one single amplifier. If you have a 1000w amplifier at 1 ohm, and you strap it with an identical 1000w amplifier at 1ohm, you’ll have 2000w at 2ohm. Each amp will still be responsible for handling it’s own 1000w at 1ohm, but together they’re sending out twice as much energy so you must ensure that your subwoofer can support this.
How to Strap Two Amps Together
Let’s start by going over the RCA connections and on-board amp settings, and then we’ll talk about wiring the speaker cables. For this example, we’ll be explaining how to strap two monoblock amplifiers, like the ones in our AT Series.
1) Look for a switch that toggles between “MASTER” and “SLAVE” on each amplifier. One of them needs to be set to master, and the other needs to be set to slave.
2) Connect your head unit to the amplifier that you’ve designated as the master.
While the first section is quite straightforward, it’s the next stepsthat can throw people for a loop. Now that we’ve got the head unit and RCAconnections in place, let’s get your amps and speaker wired in.
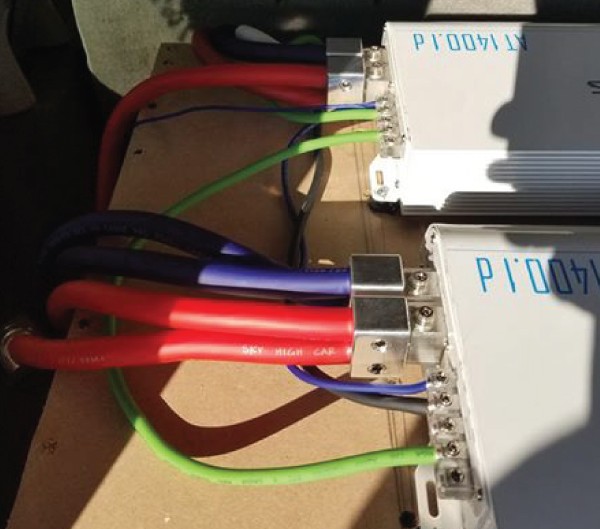
1) Start by connecting a jumper wire from the NEGATIVE terminal on your MASTERamplifier to the NEGATIVE terminal on your SLAVE amplifier.
2) Take your POSITIVE subwoofer lead and connect it to the POSITIVE terminal on theMASTER amplifier.
3) Take your NEGATIVE subwoofer lead and put it in the POSITIVE terminal on the SLAVEamplifier. (That’s SUB- to SLAVE+.)
4) Connect your remote wire to the MASTER amplifier and use a jumper to connect the remote terminals from both amplifiers together. Note: If you’re using one of our strappable AT Series amplifiers, simply plug the ethernet cable for the remote into port on the master amplifier.
5) Finally, connect both amps to your power source (the car battery). Both amps still need to be connected to the car battery individually to receive adequate power.
TOP SELLING AT SERIES AMPLIFIERS
AT-1400.1d Amplifier
See Full Specs$399.99 $309.99
AT-125.4d Amplifier
See Full Specs$349.99 $219.99
AT-900.1d Amplifier
See Full Specs$299.99 $209.99
AT-500.1d Amplifier
See Full Specs$239.99 $169.99


